Upload data to ArcGIS Online
Having been processed locally, the layers should now be ready to upload to AGOL. The following steps in the workflow utilize the ArcGIS API for Python library to interact programmatically with ArcGIS Online. See the documentation here to for more information.
Connect to portal
In order to upload data to AGOL you will to establish a connection by specifying the Natural State portal name (https://naturalstate.maps.arcgis.com/), and your user name and password. You can use the gis.admin.licence.all() class to confirm that you’re connected.
# Connect to AGOL
gis = GIS("https://naturalstate.maps.arcgis.com/", "dhenry_naturalstate", "MYPASSWORD")
gis.admin.license.all()
Note that working with raster (imagery data) within AGOL means you’ll need a ArcGIS Image for ArcGIS Online licence.
Create AGOL folders
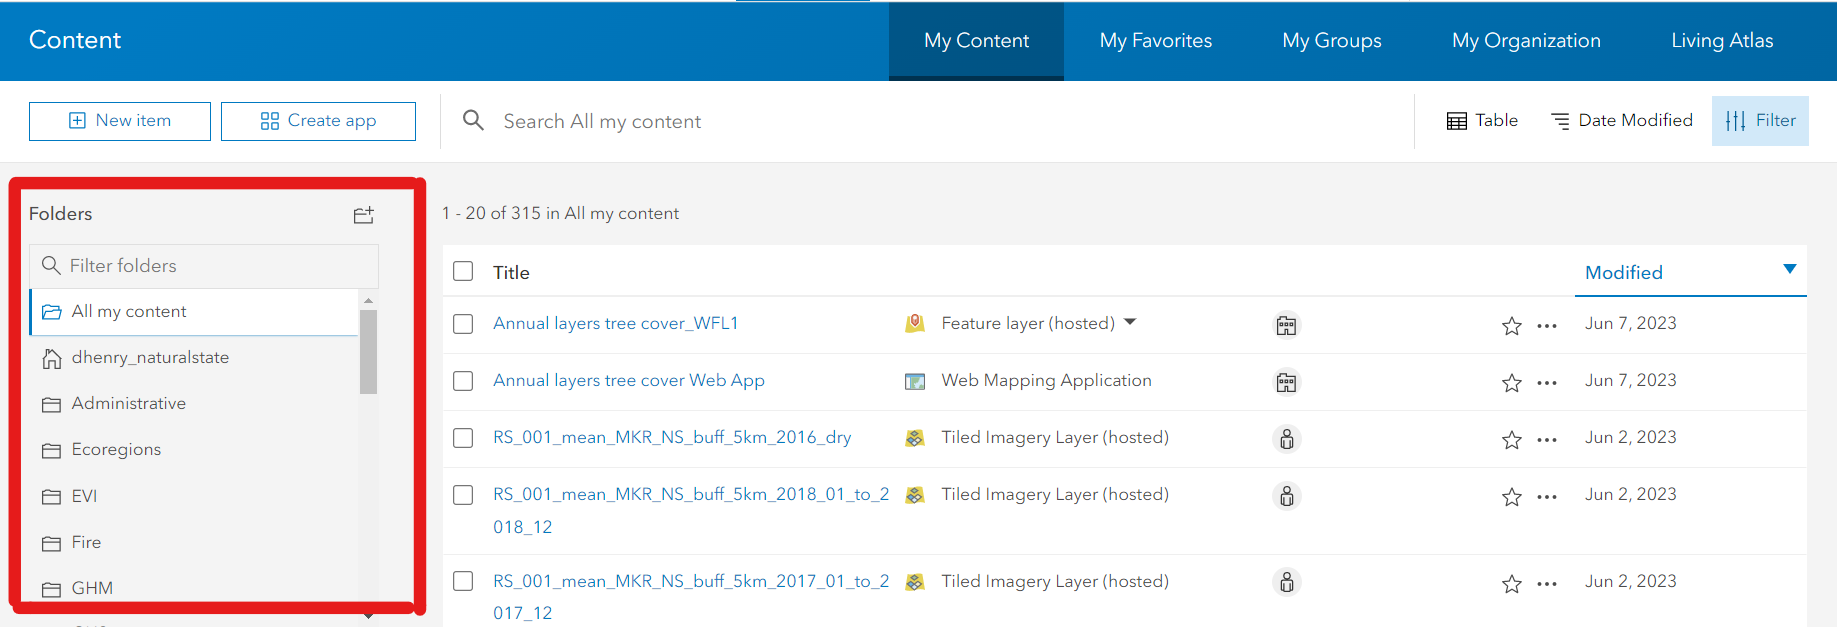
The first step here is to run the 03_create_agol_folders.py script. This code creates folders in your personal AGOL “My Content” directory which are used to store the layers in an organized structure. The folder names match the GDB names from the metadata table.

Create categories
In addition to tags, categories in AGOL are useful for filtering data when searching for layers. There is no easy way to create these categories via the API so it needs to be done manually. Once you’ve created the categories, the code will automatically assign each layer correctly without any further user action.

In order to get a list of the categories you need to add, run the last line of code in 03_create_agol_folders.py. This will generate logfile_03.log (located in the script directory) which will print a list of categories.
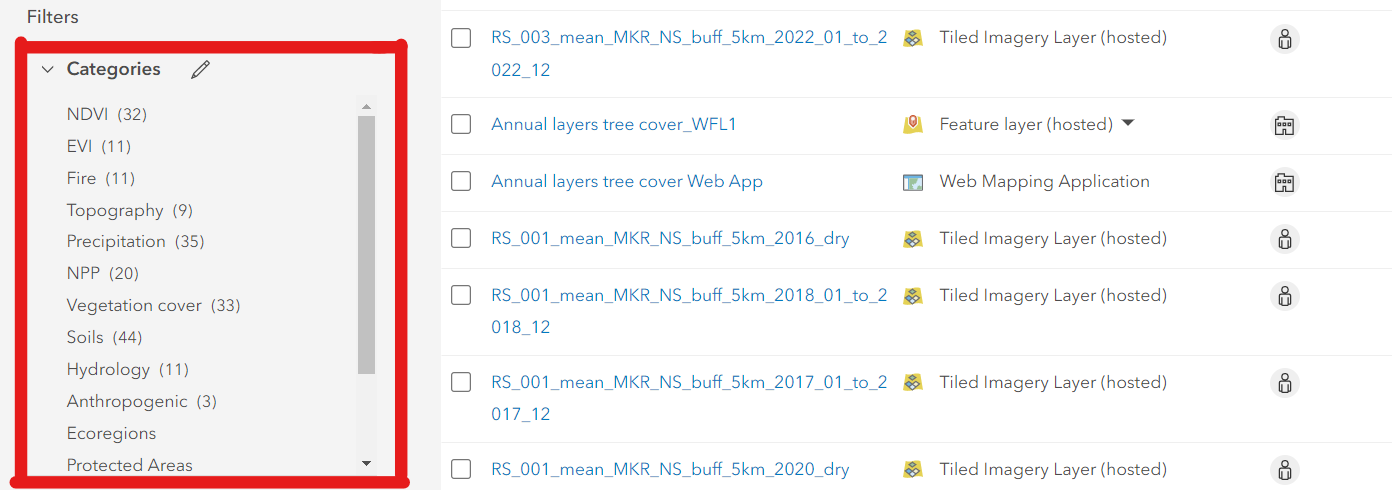
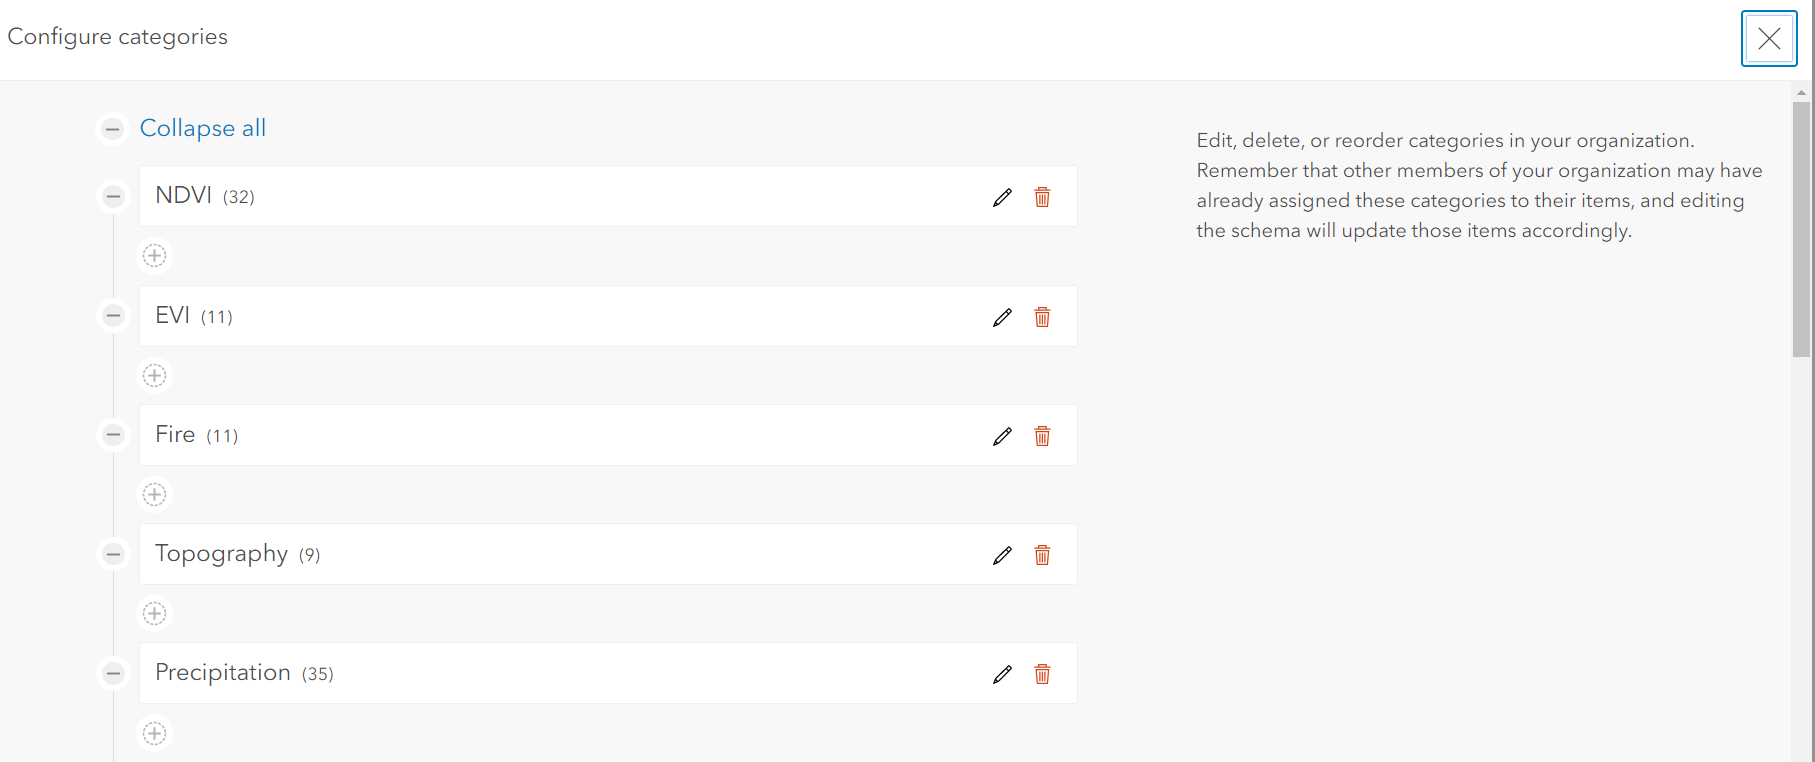
Following this, go into your AGOL content page, scroll down to Categories and click the edit symbol to configure them as shown below.

Import data
You can then move on to running the 04_import_to_agol.py script. As before, you can specify which layers you want to upload. Apart from uploading a layer, the code also extracts text from the metadata file and uses it to populate the various layer property fields (e.g., description, snippet, tags, licensing, etc)
The code also uploads the latest saved version of the metadata Excel file to your AGOL content directory (this is done so that all layers and metadata match exactly at the time of upload).
Note that this script does not overwrite layers already hosted on AGOL. If the layer already exists you will get a message in the
logfile_04.logand the process will move on to the next layer. You need to delete the existing layer before uploading a new layer (see below).
Update layer properties
There may be instances where you edit the properties of a particular layer in the metadata table. If you want those changes to reflect within the AGOL layers than you can push those updates by running the 05_update_agol_properties.py script.
Deleting layers
If you need to delete layers from AGOL programmatically then you can do so using the 06_delete_items.py script.