Step 1: Automatic annotations
Automatic annotations are performed for those images which are yet to have their annotations manually uploaded. The process involves running a Machine Learning (ML) classifier on the background.
To carry out this activity, we shall proceed with our trusty endangered_crocodile_a5763f22_animal task.
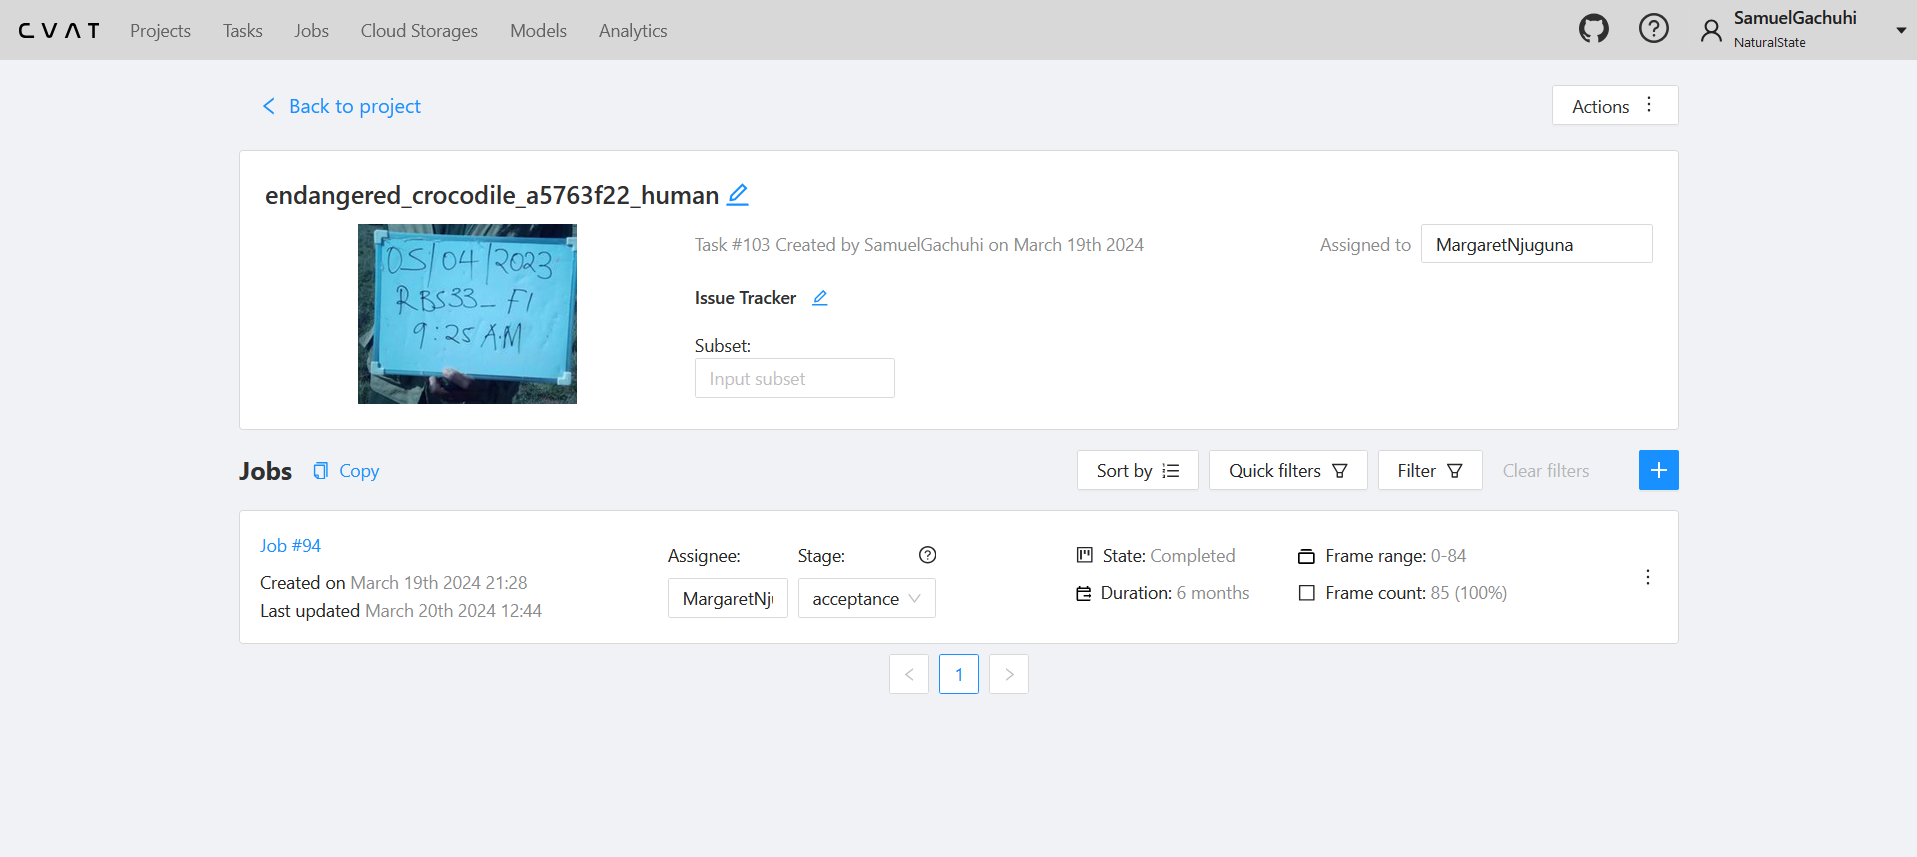
The interface looks like below:

For the images that require or have been designated for automatic annotation, they will have the Assigned to dialog box set to an individual, such as Margaret Njuguna, but the Stage dialog box will remain empty, the Status as New and the Assignee still empty. The Assignee dialog is left for the field team lead to decide whom to hand it over to for validation.
Click on the Actions button at the top right. Click Actions>Automatic annotation.
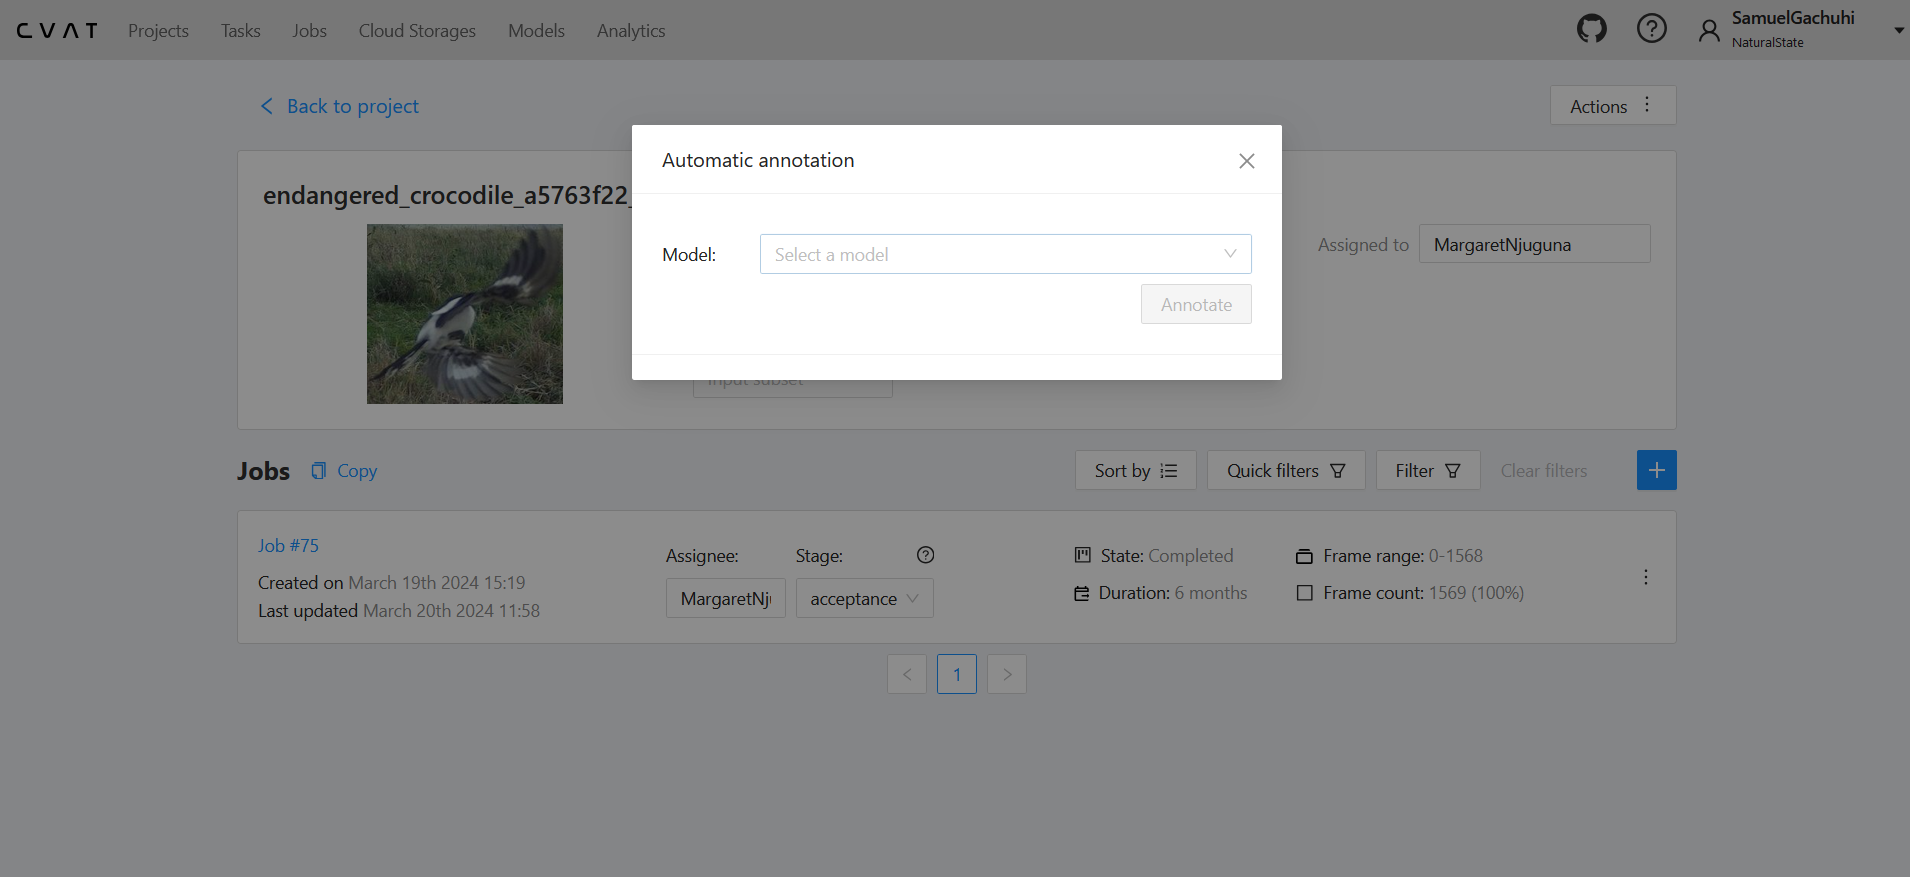
Step 2: Select the Model
Under the Model dropdown, there will be two models,
- Onnx ViT NS v9
- Onnx ViT Xprize Species Classifier

Select the the Onnx ViT NS v9 model.
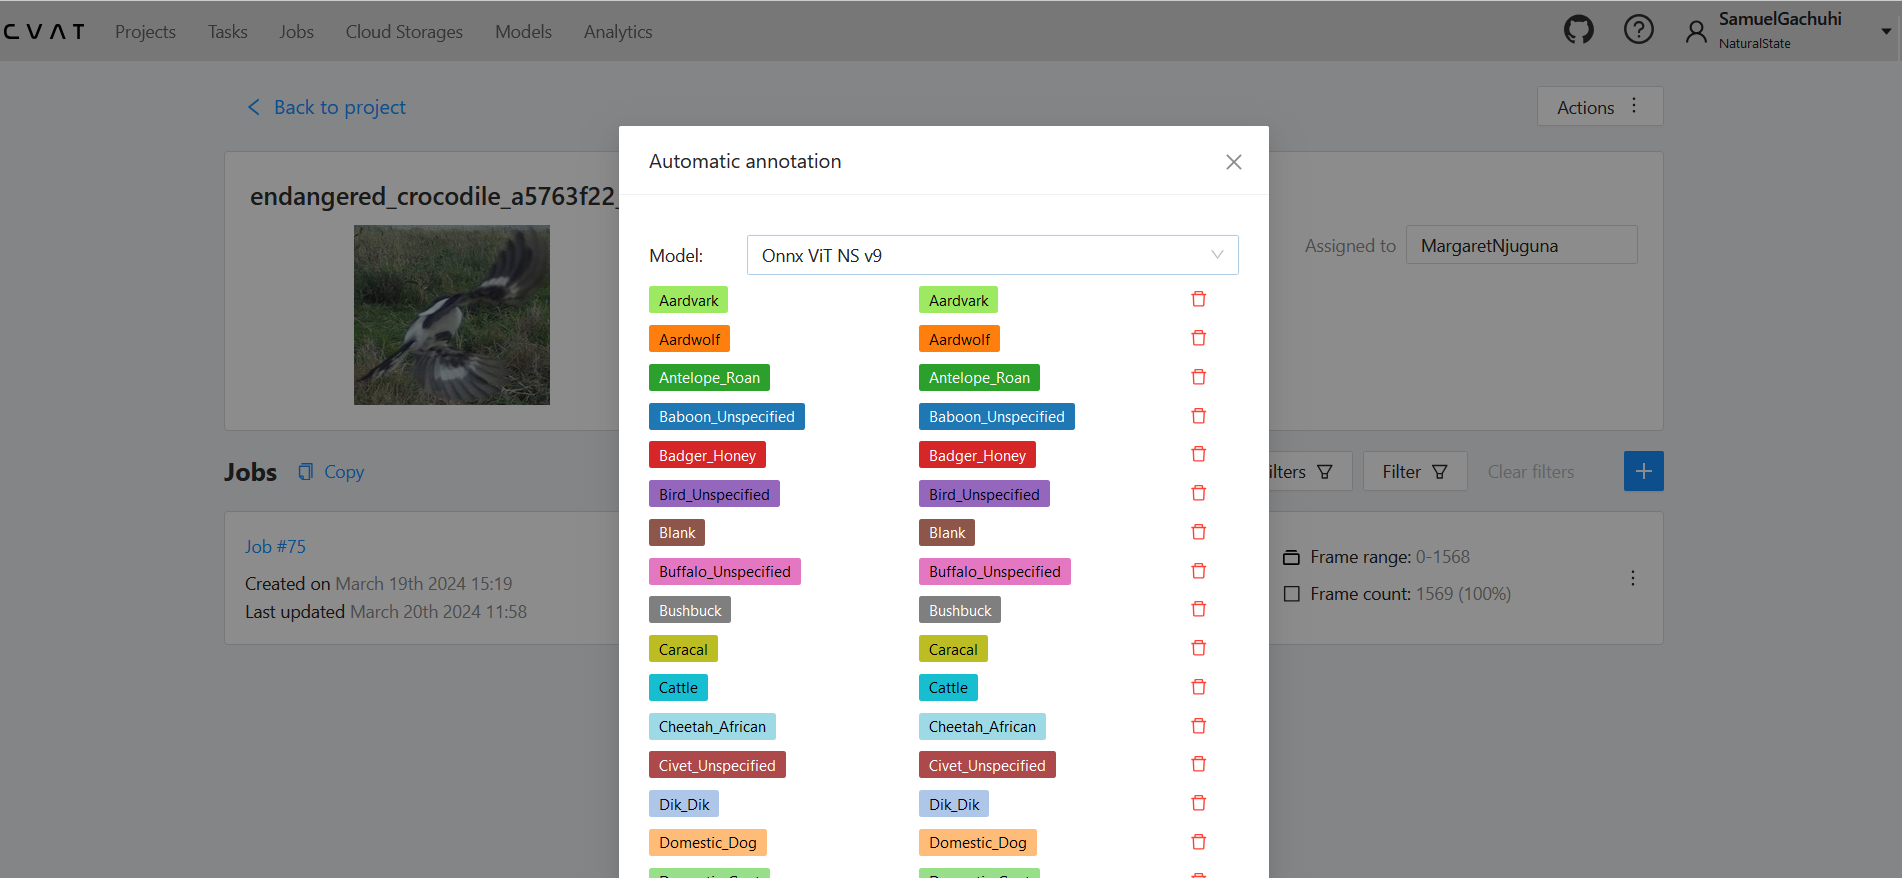
Once you select it, a new interface containing the mapping of animal species will appear. These are the mapping labels of the Onnx classifier.

Step 3: Update the Gazelle names
The species labels Gazelle_Thomsons and Gazelle_Grants need to be changed. You will first delete them using the dustbin icon.

Once you delete the two values, a new dialog box will appear at the very bottom.
Change the two names to appear as follows:
Gazelle_Grants->Gazelle_UnspecifiedGazelle_Thomsons->Gazelle_Unspecified
Once you do the above changes there will be no more space for a new dialog box!
The above changes will direct the classifier to remap any Gazelle_Grant or Gazelle_Thomsons image to Gazelle_Unspecified. At the moment the Onnnx classifier tends to confuse between the two and instead of performing a change to every image from Gazelle_Thomsons and/or Gazelle_Grants to Gazelle_Unspecified we can simply tell the Onnx classifier to do the remap for the two contentious species names.
You will have to do this for every task so don’t despair!
Ensure the Convert masks to polygons and Clean previous annotations are active. Thereafter click Annotate.

The task interface will have a new popup with the message “Automatic annotation request queued”.
A message that reads “Automatic annotation in progress” will also appear on the particular task set up for automatic annotation from within the project page.
NB: Once you initiate automatic annotation for a particular project. It’s best to let the entire process to be complete before proceeding to the next task. The current computation does not support parallel classification.
NB: Don’t perform automatic annotation to those projects marked as complete through the manual process. Doing so overwrite what has been previously done.
Once the automatic process starts feel free to close the computer. It will run even if the computer is offline.
Once the automatic annotation process is successfully complete, the progress bar will turn to green and read 1 done 1 total.
