2. The Workspace
2.1 The workspace browser
Provided you have been granted access to the Azure Databricks platform, you should have a folder with your email under the Workspace>Users dropdown. The sub-folders within your email username will be those folders you will create or upload to Azure Databricks in the course of your work.
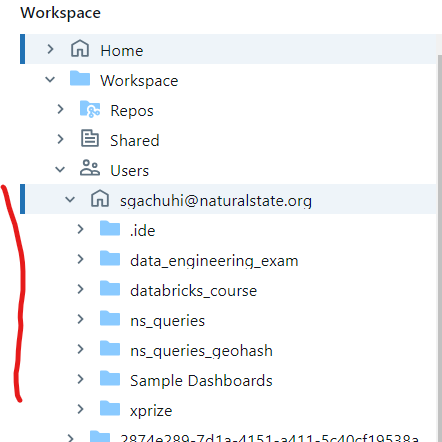
If you click your workspace browser, to the right will be a new interface like shown below:
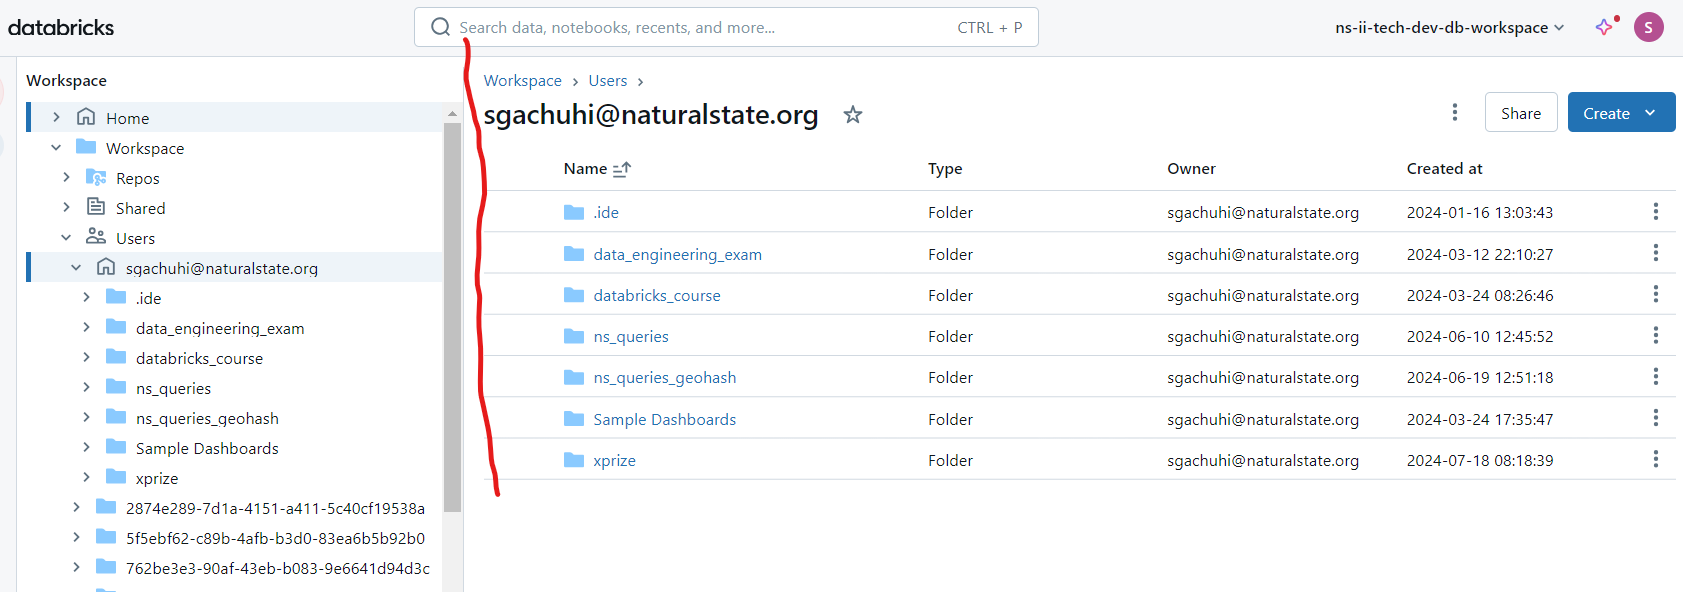
You can use this to create the following: new folders, git folders, notebooks and more. One can also share their workspace with other people, including setting the permission level. All this is possible through the Create and Share buttons.
2.2 The .ide folder
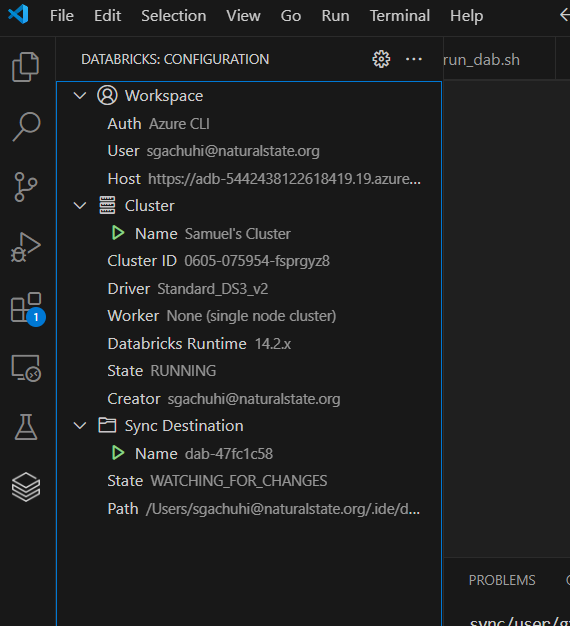
The .ide directory under your Users/<username>/.ide is a special directory. This is the directory that is created when you sync your folders from your local VS Code in your PC to your personal Azure Databricks workspace.
Most of the files that we use for ingestion are found in the dab folder. Therefore, when syncing from VS Code to Azure databricks workspace, the dab folder will be found under the User/<username>/.ide/dab-<some-random-number>. We use the Databricks Extension for Visual Studio Code to sync our data ingestion files and folders to Azure Databricks. Currently, the most preferred version is v1.3.1.
Below is an example of the Databricks extension for VS Code having already synced our dab-<some-number> with our online Azure Databricks workspace.
Here how our dab folder appears in our Azure Databricks workspace.
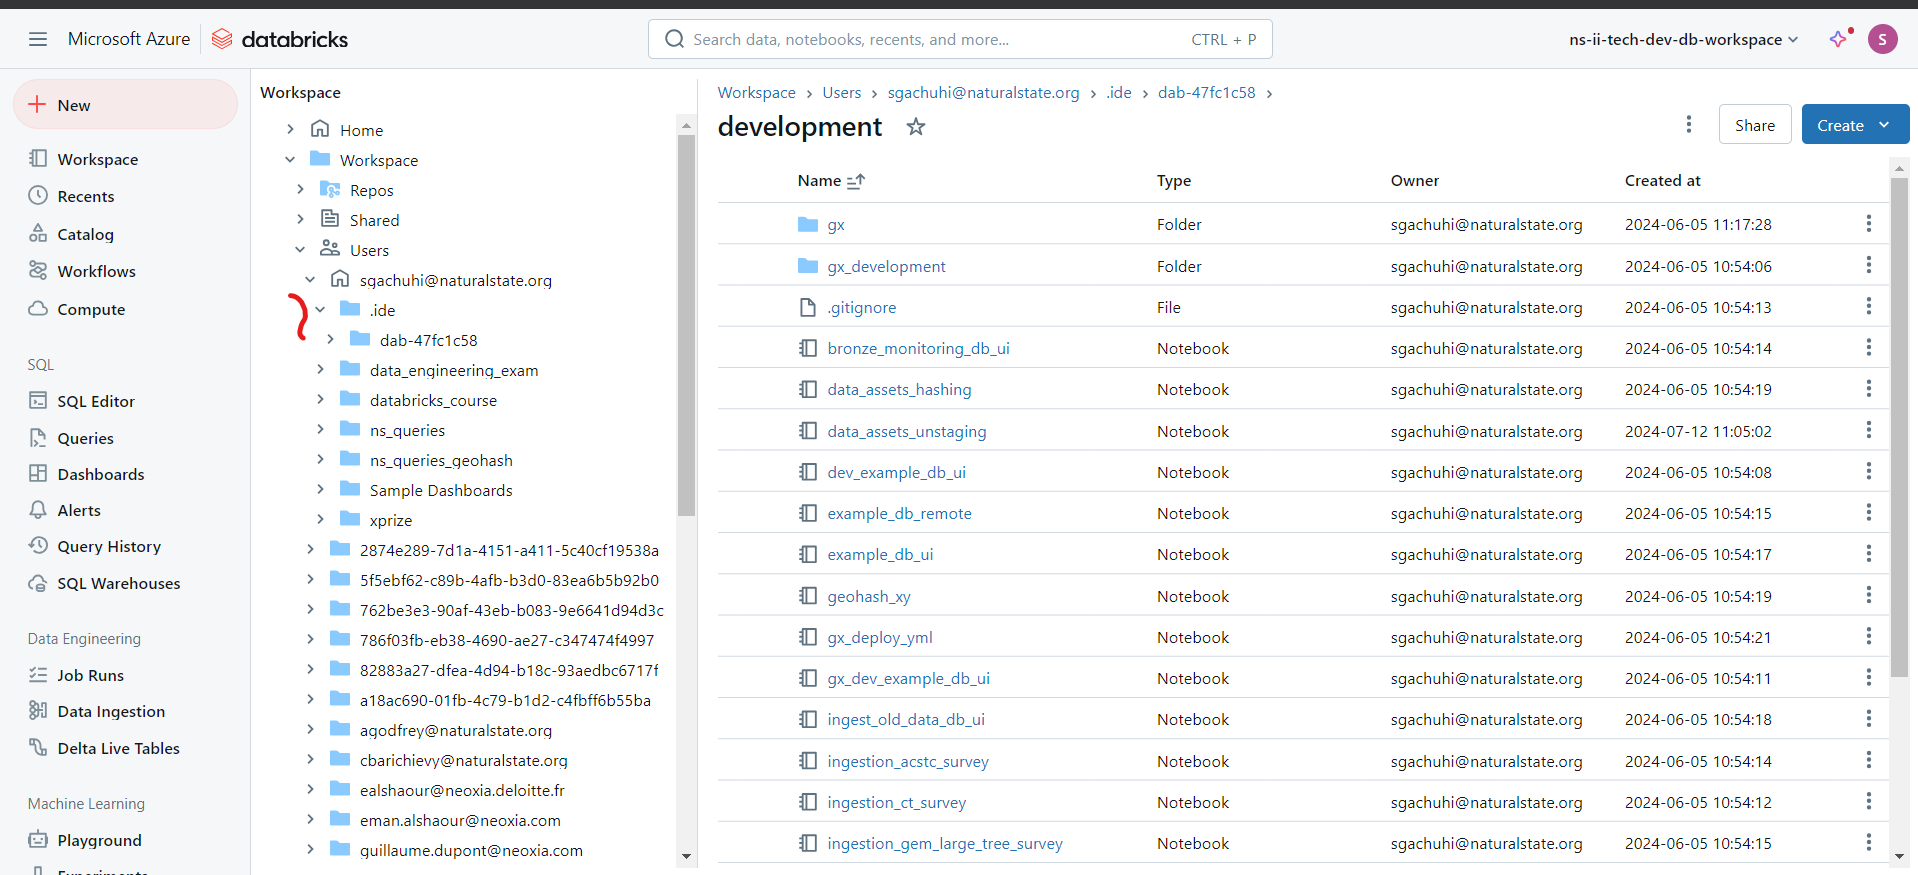
You will be mostly working with the dab when using notebooks within your Azure Databricks workspace.
2.3. The Repos folder
The Git Repos folder enables you to perform version control with your Git account right from the databricks UI.
Common operations that you can perform include: clone, pull, push, commit, checkout and branch management.
If you click on the Repos folder, you should see your email username.
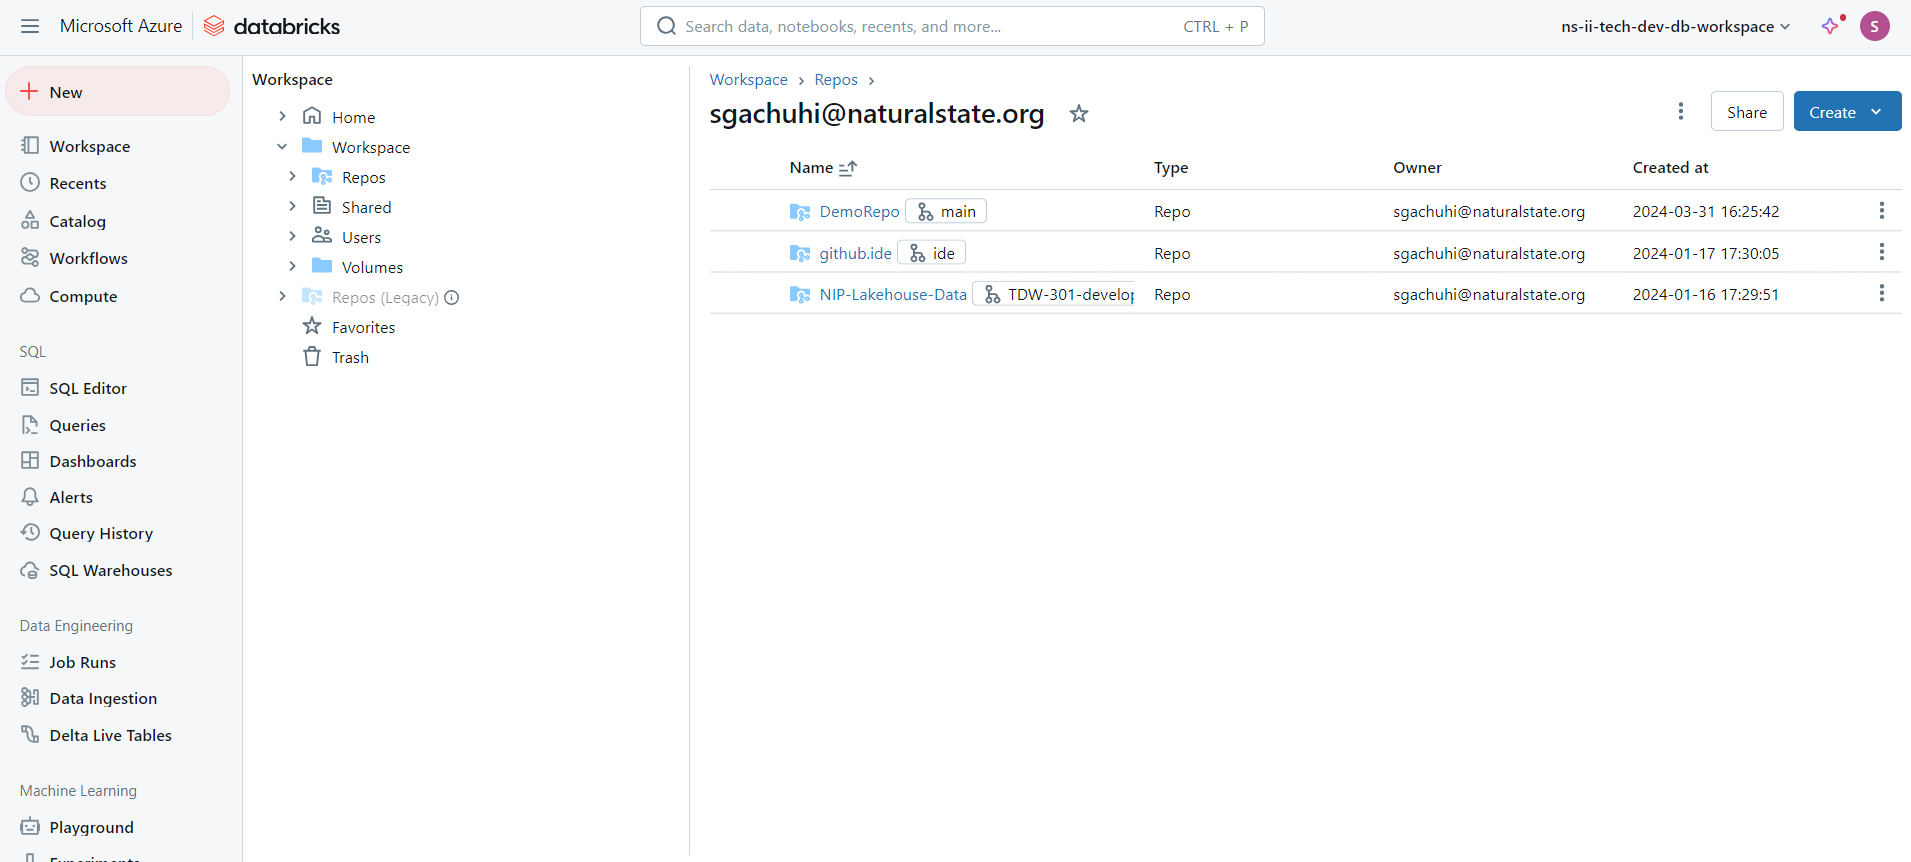
To connect to one of your Git repositories, click on the Create button at the top right of the UI.
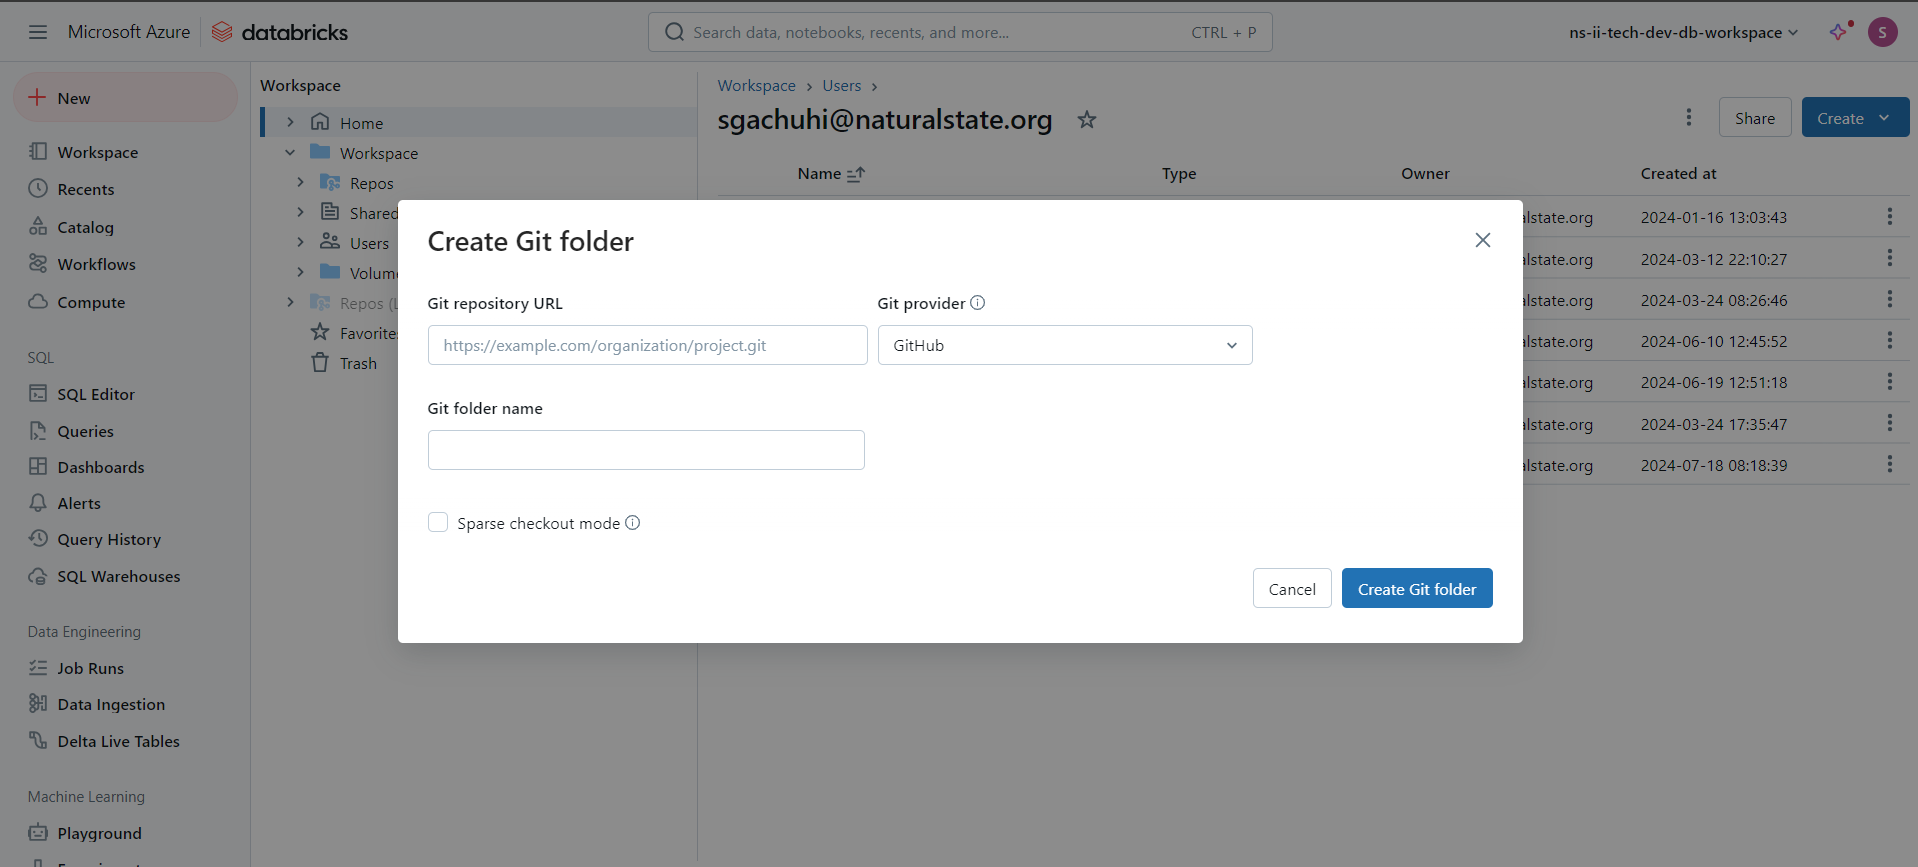
Fill in the required field and click Create Git Folder.
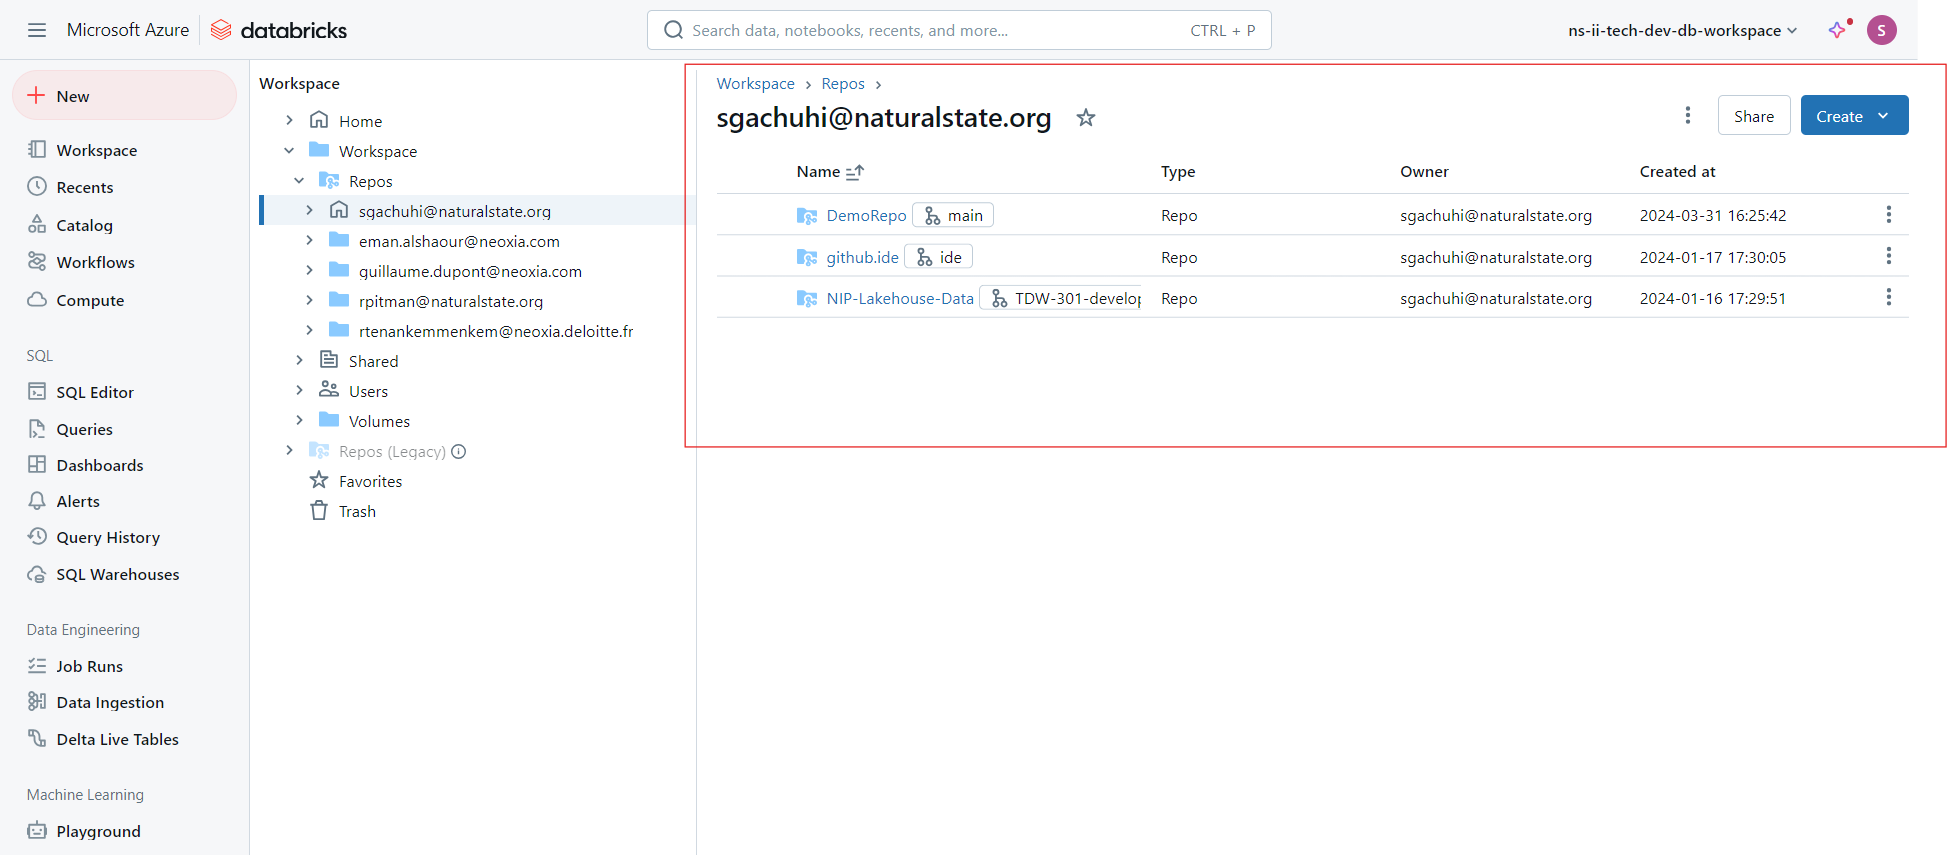
If you do so, the connected git repository should appear as one of the linked repos under your workspace name. Here is an example of some of the repositories and branches linked to the author’s workspace.
2.4. Practical
To see a practical of using your workspace, follow this tutorial of data ingestion process. This tutorial shows the process of downloading data from ArcGIS Online (AGOL) to Azure Data Lake Storage Gen 2. We refer to the latter as the landing stage. For the full context, see this.
Login in to your Azure portal.
In your Workspace tab, go to this path- /Workspace/Users/<user-email>/.ide/dab-47fc1c58/development/gx_deploy_yml.
This is the flle that will load the great expectations yaml files that you created. The last cell contains the paths to your great expectations .yaml files.
Just a few things to consider:
i. Ensure that user_name variable corresponds with your email.
ii. Ensure that is_dev variable is set to False.
iii. Make sure that survey_abbr matches to the abbreviation of the form you want to ingest into bronze. For example, when dealing and having created the yml files for a form abbreviated as xprize_sens_reg, the survey_abbr value will be xprize_sens_reg.
Once you are satisfied every value is okay, click Run all at the top. This should run all the cells in the notebook.
If there is no issue with your yml files, the last cell should display a list of bars and all should reflect as 100%. This means that your data ingestion into bronze worked perfectly.