Introduction
A mount point is a directory on a file system that is logically linked to another file system. Mount points are used to make the data on a different physical storage drive easily available in a folder structure.
The mnt/ folder in your Ubuntu/Linux directory is the location where you mount your external hard drives. Mounting is the process by which you make your external file systems accessible from your local computer.
When you mount a laptop, your system does various book keeping things but it will make it look like your files are part of an existing local filesystem.
WSL2 will not be able to read your external hard drives by default. For example, assuming you have inserted your flashdisk to one of the laptop ports, for wsl2 to recognize it, you have to mount it. You have to redo this process everytime you remove your flash from the laptop.
Therefore, if doing this for very first time, follow the following steps.
Step 1: Insert your external drive
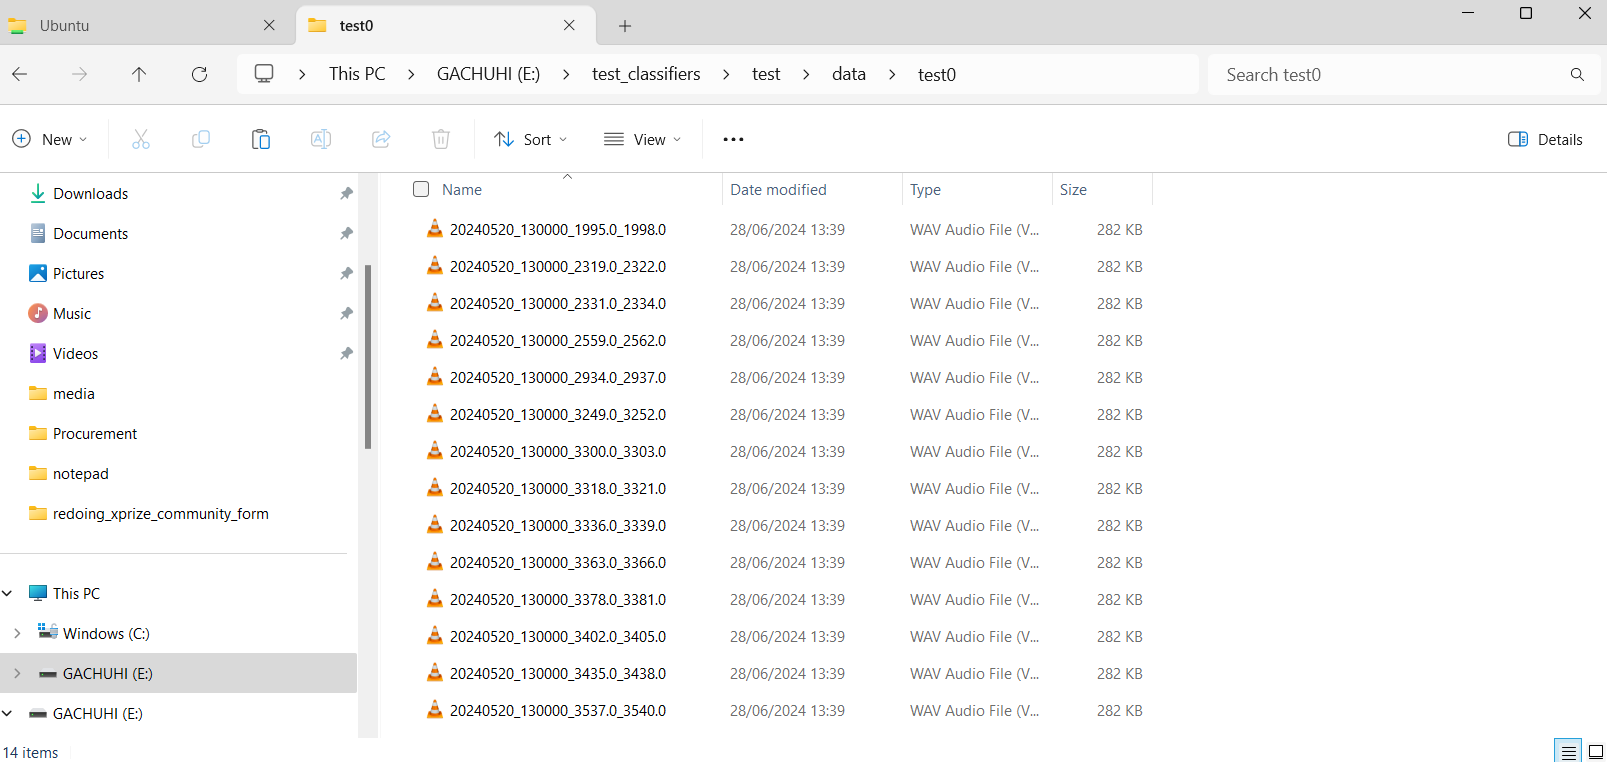
If this is being done for the purposes of Xprize, ideally, you should have all the data within a single folder. For example, in my drive, I have created a folder called data inside the test_classifiers/test/data directory of my flashdisk. Inside the test/data/test0 folder are a number of audio files, copied from the birdnet_amphReptiles folder.
In this laptop, the flashdisk is assigned as Disk E:. Yours may have a different name depending on the partitions available.

Step 2: Create folders similar to the respective ML classifier docker command
Now, assuming you would like to run the birdnet_amphReptiles classifer, you will need to create inside your flashdisk the folders akin to those in the docker run command. Here was the original docker command:
docker run \
    --shm-size=10.24gb \
    -v /mnt/e/test_classifiers/test/data:/app/input \
    -v /mnt/e/test_classifiers/test/birdnet_processed:/app/birdnet_processed \
    -v /mnt/e/test_classifiers/test/tmp_prediction:/app/tmp_prediction \
    -v /mnt/e/test_classifiers/test/detections:/app/detections \
    -v /mnt/e/test_classifiers/test/species_list:/app/slist \
    naturalstate/birdnet_amph_reptiles:latest \
    --phase_nb 0 \
    --acoustic_test_data /app/input \
    --slist /app/slist
This means inside the test directory in your flashdisk, you will have to create the following folders:
-
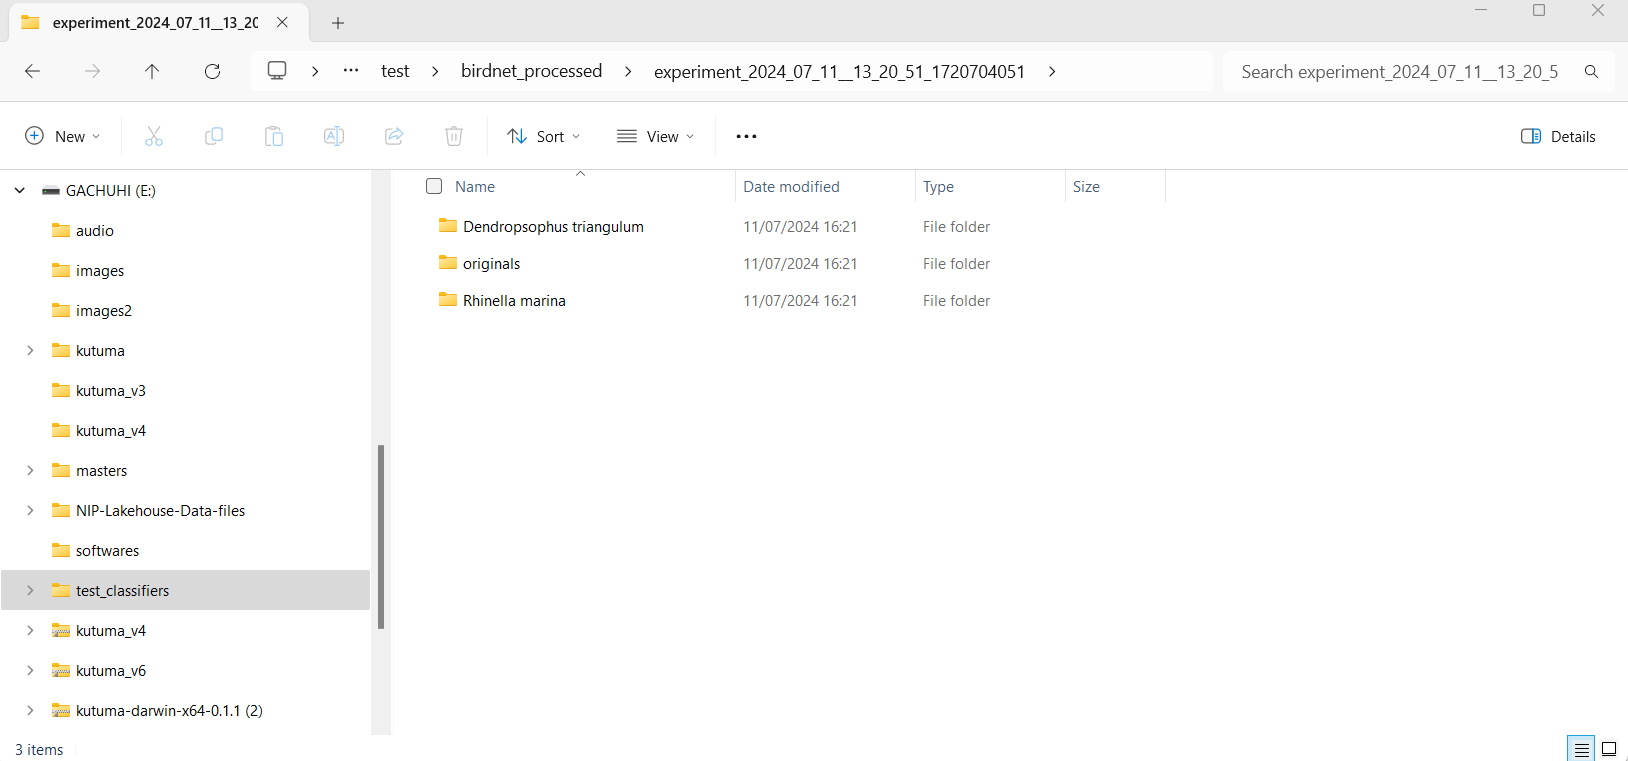
birdnet_processed -
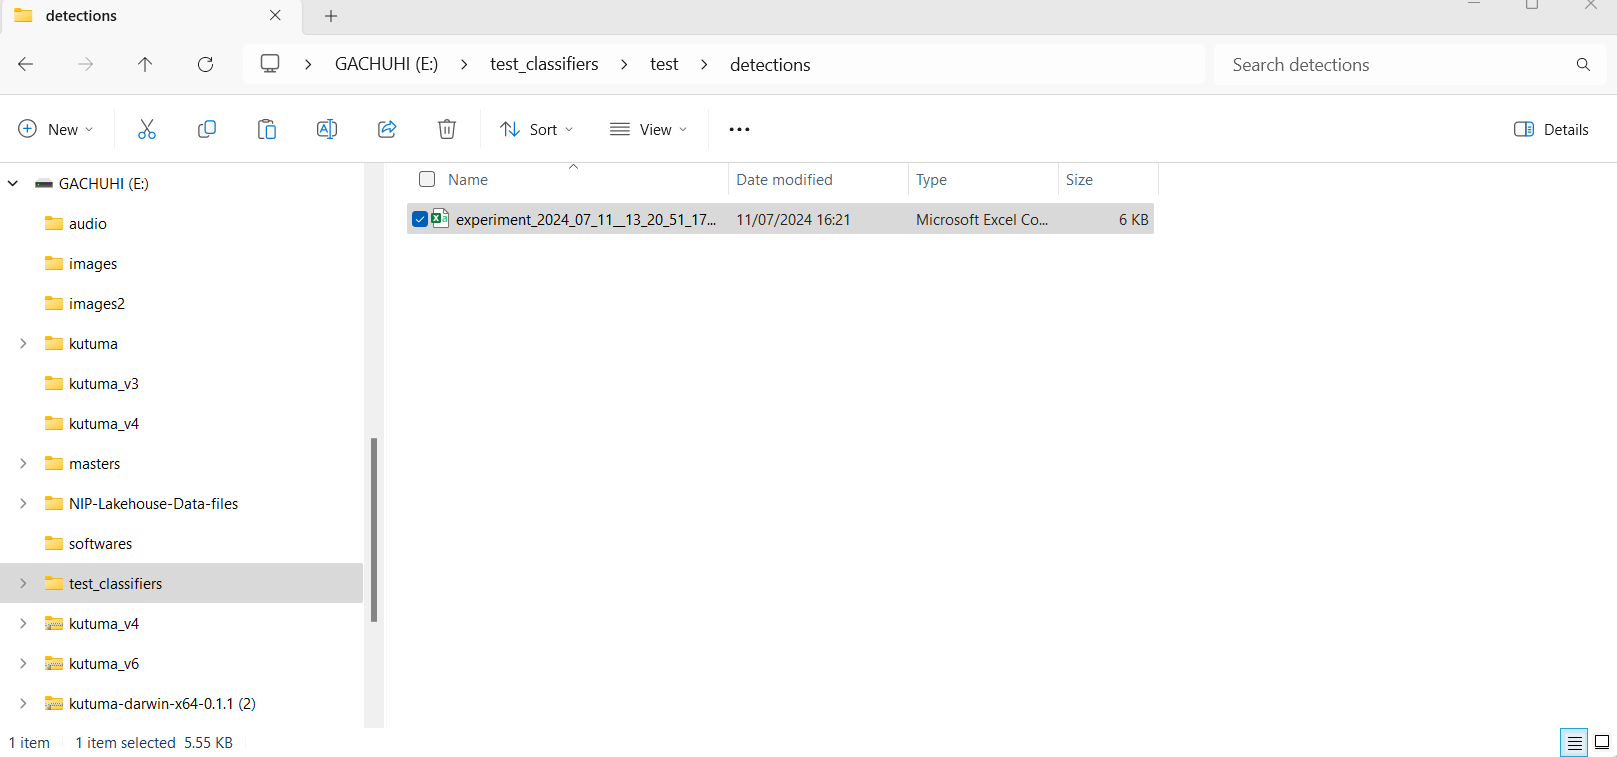
detections -
tmp_prediction
Notice that the above folders correspond to the outputs of our docker run command if run from your local computer directory.
For the species list which the ML Classifier will use to perform predictions, simply copy it from the birdnet_amphReptiles folder you copied from teams.
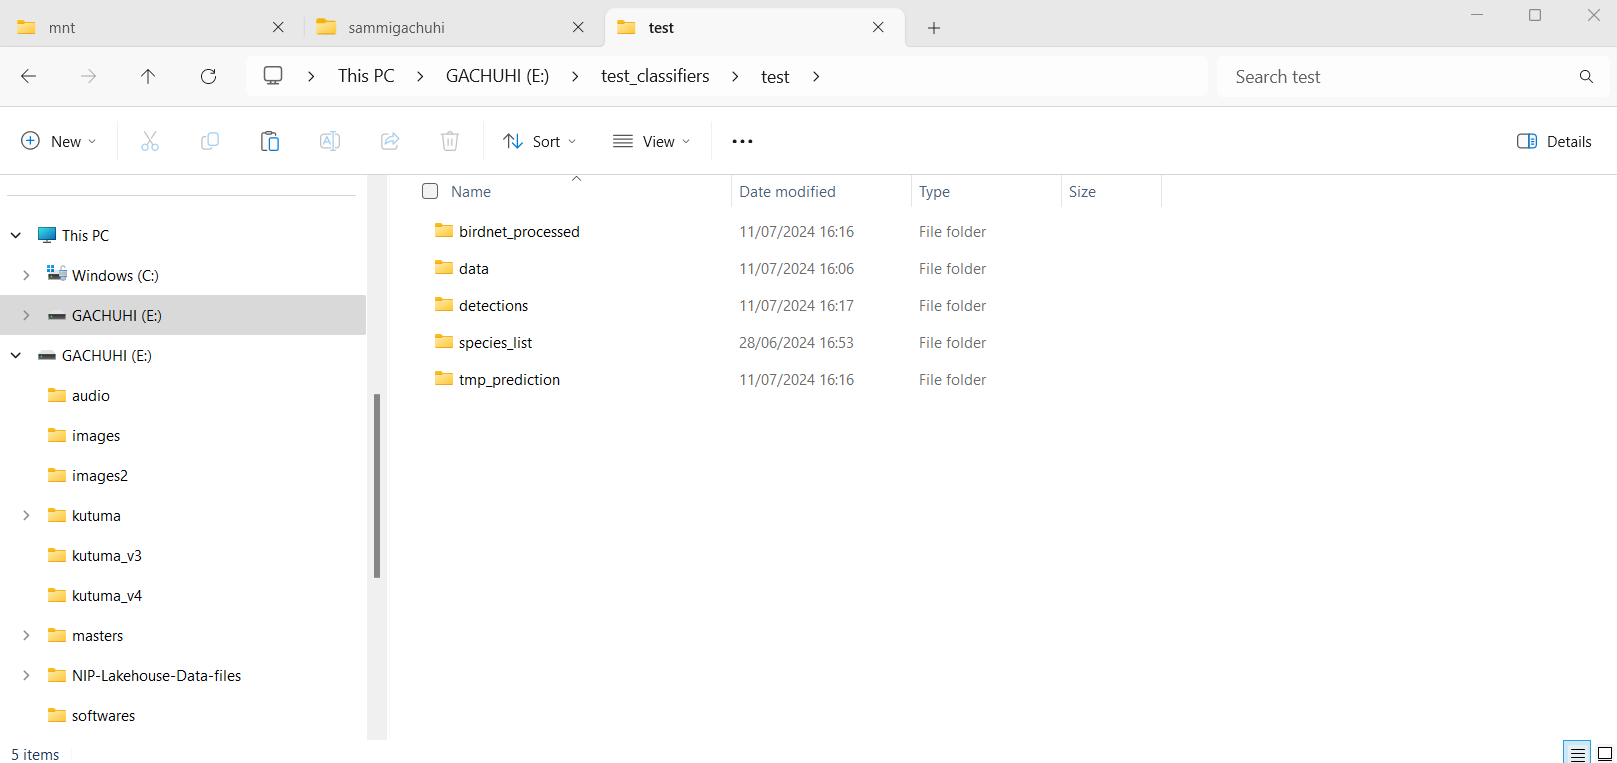
So in total you should have the following five folders inside your test directory.
-
birdnet_processed -
data -
detections -
species_list -
tmp_prediction

Leaving out any folder and the ML Classifier will not successfully run through the files in your flash disk.
Step 3: Mount the directory
Now is time to mount the directory to WSL2.
Go to your terminal.
Remember that your WSL2 terminal is always within the Ubuntu/home/sammigachuhi by default. However, the /mnt folder is like two folders above it (or before).
Therefore, use the cd .. command to go back one folder behind and listing the existing files using ls until you get to where the ls command will return mnt as part of the folders.

Once you find the folder with mnt as one of the listed results, get into this folder using cd mnt/.
Use ls to list the files, or folders (if any) within the mnt/ folder. Chances are that you will get a result like below.
ls: cannot access 'e': No such device
c  e  wsl  wslg

The folder e may be listed but is not accessible by the computer.
To check if the folder e is accessible, type the following code:
ls e
If you get a message like below, then it’s time to mount your external drive.
ls: cannot access 'e': No such device

Step 4: Mount your external drive
Run the following code to create a folder called e in the mnt/ folder
sudo mkdir e
You will be prompted to enter your password.
[sudo] password for sammigachuhi:
mkdir: cannot create directory ‘e’: File exists

If the folder is already existent, the above error will show up.
Alright, now time to mount our external drive E:. Although you can use any letter, you can mount your flashdisk to any folder your have created using sudo mkdir <folder-name> but it is best practice to maintain naming consistency.
The below will mount our flashdisk E: to the e folder inside our mnt/ directory in Ubuntu.
sudo mount -t drvfs e: /mnt/e

Now if you type ls, our e folder should be printed out without any errors.
sammigachuhi@gachuhi:/mnt$ ls
c  e  wsl  wslg

Use ls e to check that WSL2 can access the mounted folder e.
If it lists your files like so:
sammigachuhi@gachuhi:/mnt$ ls e
'Docker Tutorial for Beginners -FULL COURSE in 3 Hours-.mp4'   kutuma
 NIP-Lakehouse-Data-files                                     'kutuma-darwin-x64-0.1.1 (2).zip'
'Screenshot 2024-03-15 113330.png'                             kutuma_v3
'System Volume Information'                                    kutuma_v4
 audio                                                         kutuma_v4.zip
 bareground_dpm_error.png                                      kutuma_v6.zip
 borana32.png                                                  masters
 cannot_create_table_sql.png                                   softwares
 images                                                        test_classifiers
 images2                                                       zlibrary-setup-latest.exe

Then that means WSL2 can access your external disk/flashdisk!
step 5: Access your external drive
So to go inside your mounted e folder, one simple way to get the path is to cd into e, then test_classifiers, then test.

Your terminal namespace should like this by now:
sammigachuhi@gachuhi:/mnt/e/test_classifiers/test$
Copy the path after the first colon, that is /mnt/e/test_classifiers/test. This is what you will use to replace the older paths of docker run with this new path.
If your original docker run command that was running the ML classifiers from your local directory.
docker run \
    --shm-size=10.24gb \
    -v /mnt/e/test_classifiers/birdnet_amphReptiles/data:/app/input \
    -v /mnt/e/test_classifiers/birdnet_amphReptiles/birdnet_processed:/app/birdnet_processed \
    -v /mnt/e/test_classifiers/birdnet_amphReptiles:/app/tmp_prediction \
    -v /mnt/e/test_classifiers/birdnet_amphReptiles/detections:/app/detections \
    -v /mnt/e/test_classifiers/birdnet_amphReptiles/species_list:/app/slist \
    naturalstate/birdnet_amph_reptiles:latest \
    --phase_nb 0 \
    --acoustic_test_data /app/input \
    --slist /app/slist
Now you will replace the paths with this:
docker run \
    --shm-size=10.24gb \
    -v /mnt/e/test_classifiers/birdnet_amphReptiles/data:/app/input \
    -v /mnt/e/test_classifiers/birdnet_amphReptiles/birdnet_processed:/app/birdnet_processed \
    -v /mnt/e/test_classifiers/birdnet_amphReptiles:/app/tmp_prediction \
    -v /mnt/e/test_classifiers/birdnet_amphReptiles/detections:/app/detections \
    -v /mnt/e/test_classifiers/birdnet_amphReptiles/species_list:/app/slist \
    naturalstate/birdnet_amph_reptiles:latest \
    --phase_nb 0 \
    --acoustic_test_data /app/input \
    --slist /app/slist
Step 5: Running the ML Classifiers
To avoid confusion, create a new script file called test.sh inside the birdnet_amphReptiles directory.
Paste the new code that contains the paths to your external flash disk folders in the test.sh file.
Assuming Docker Desktop or Rancher-Desktop is up and running, paste and run the code in your terminal.

If everything was set up perfectly, the results should reflect inside your external disk’s folders.

